First, the flop. Giraffe puppets.

Sure, they look kinda cute, but generally speaking, our kids aren't into "colour this, cut it ou ad paste it to that" crafts. t leaves very little leeway for individual creativity. Kids love to come up with their own ideas and insert them into whatever they're doing. Being told to cut colour and paste is too specific for my craft hungry children. They would much rather choose items from the box monster and make whatever came to mind than make something as mind numbing as these giraffes. That being said, there were a few younger children with enough patience (or boredom) to persevere. Mostly, they thought they looked more like cows than giraffes...
Next, a mild success.


We got these printouts from firstpalette.com. They're super cute and great for creative play after (I suppose the giraffes are too, for the right crowd). There wasnt a whole lot of interest in making them on this particular week, though I attribute this to the fact that we'd made similar masks just a couple weeks earlier (Everyone on staff chips in to help with programming, so it's inevitable that some things are occassionally repeated close together if their themes overlap slightly). The first time we did them they were a big hit. Kids were asking to make the animal masks for days after the craft was actually scheduled.
And finally the super duper success all the way from the African savannah!
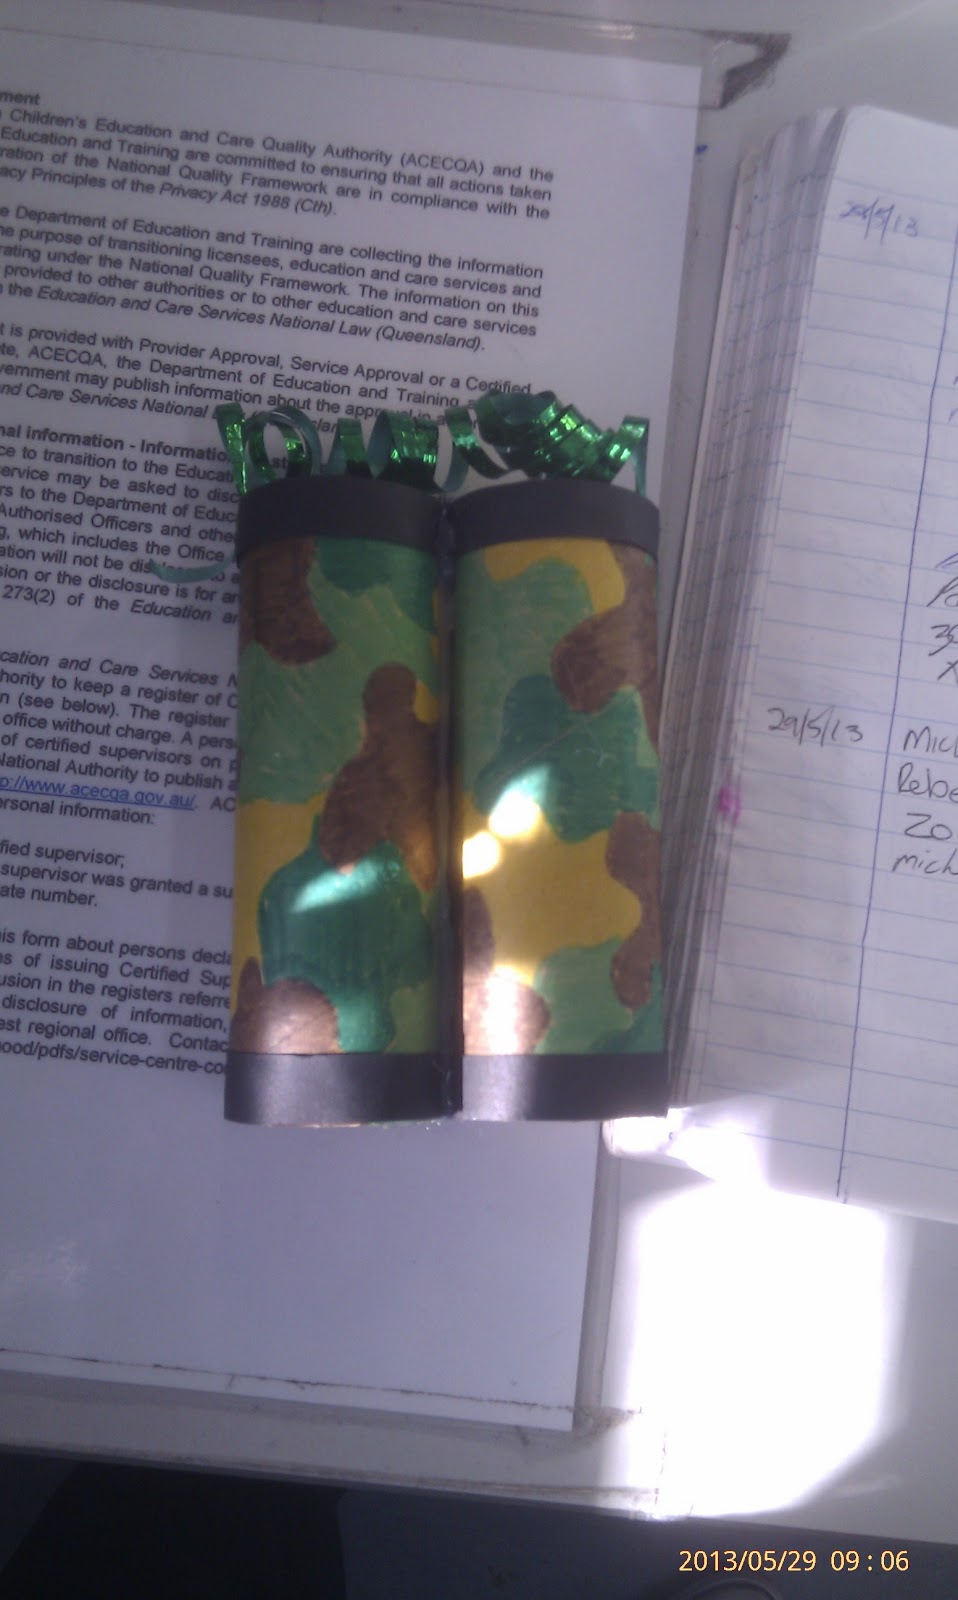
Cardboard tube binoculars. Oh. Em. Gee. These babies were pop-u-lar!! We had probably 20 loo rolls in the drawer at the beginning of the morning, and I thought, oh yeah, that'll probably be enough. What are the chances of more than ten people wanting to make binoculars today? The answer to that mental question: very likely.

By half way through my two hour shift, all the tubes were taken and I still had kids coming up to me asking to make them. Kids that usually steer away from any form of arts and crafts because they would much rather be playing soccer or pretending to shoot at each other! Apparently, though, binoculars hold a certain appeal to this particular group of kids, as they were quite disappointed when I told them the best I cold do was roll up some paper and stick the tubes together.
It just wasn't good enough for them!

The kids who were able to make them, had an absolute blast racing around the room (to the disgruntlement of the staff who have been drilling into them that they need to walk in the room since the dawn of time) pretending to spot, and be chased by lions, tigers, monkeys, hippos, and crocodiles.
It also happened to rain on one of the afternoons, so we put on a movie for them to watch rather than going outside. And purely by coincidence, the movie was Madagascar two! What a great safari experience!
If you have some ideas that you would use for a Safari theme, feel free to drop them in the comments section. I'd love to peruse them all.


